Nintendo Switch First-Time Setup and Connection
Instructions on how to set up your console in the Nintendo Switch family for the first time.
Which console are you using?
Nintendo Switch – OLED Model
Connect the AC adapter to the console.
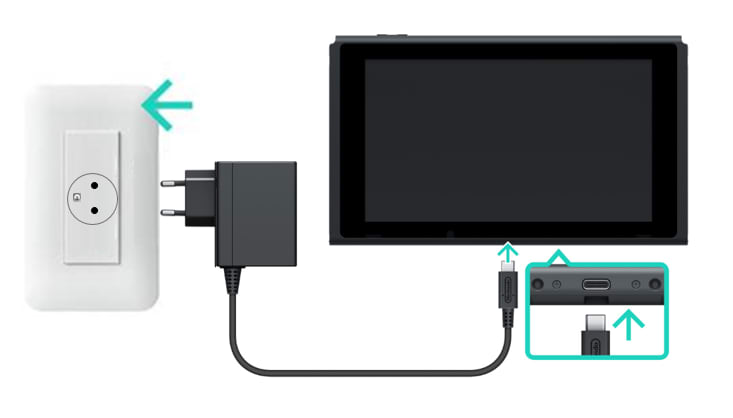
Connect the USB plug from the Nintendo Switch AC adapter into the USB connector on the bottom of the console, then connect the AC adapter into the wall outlet.
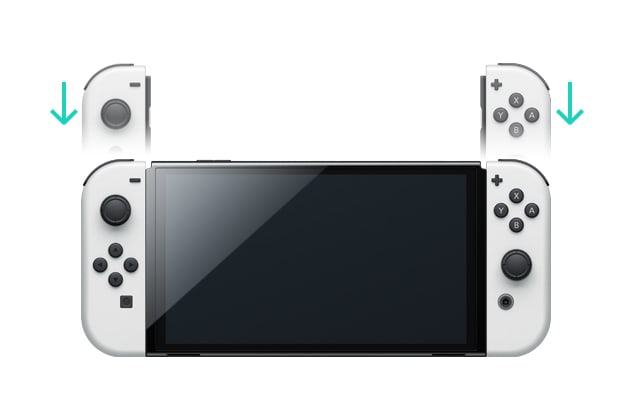
Attach the Joy-Con controllers to the Nintendo Switch console.
Follow the on-screen prompts to complete the first-time setup. Some of the settings can be configured later.
System language and region settings
Internet Settings (optional)
Time Zone
Set your icon and nickname or Transfer Users and Save Data
Parental Controls (optional)
Nintendo Switch
Connect the AC adapter to the console.
Connect the USB plug from the Nintendo Switch AC adapter into the USB connector on the bottom of the console, then connect the AC adapter into the wall outlet.
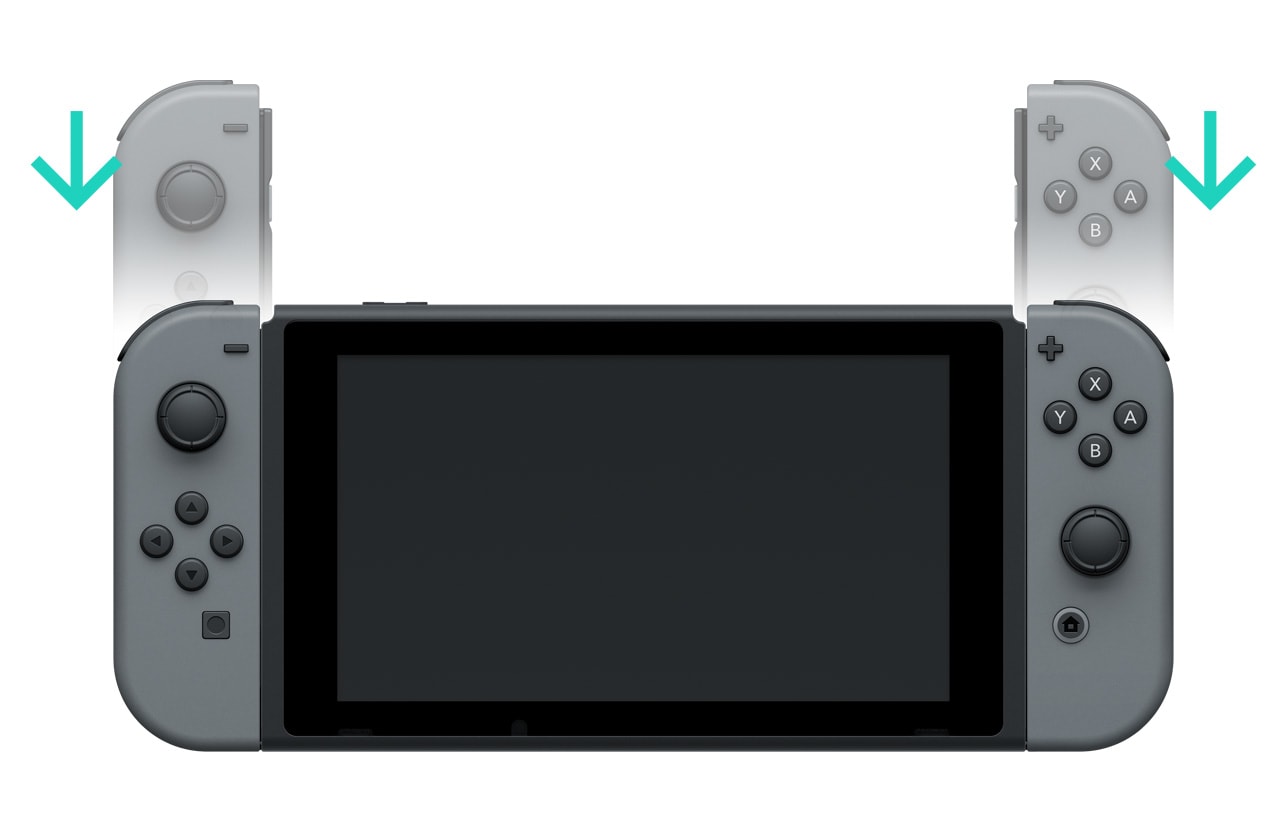
Attach the Joy-Con controllers to the Nintendo Switch console.
Follow the on-screen prompts to complete the first-time setup. Some of the settings can be configured later.
System language and region settings
Internet Settings (optional)
Time Zone
Set your icon and nickname or Transfer Users and Save Data
Parental Controls (optional)
Nintendo Switch Lite
Connect the USB plug from the Nintendo Switch AC adapter into the USB connector on the bottom of the console, then connect the AC adapter into the wall outlet.
Follow the on-screen prompts to complete the first-time setup. Some of these settings can be configured later.
System language and region settings
Internet Settings (optional)
Time Zone
Set your icon and nickname or Transfer Users and Save Data
Parental Controls(optional)